Jump Teleport Mode
What Is Jump Teleport Mode?
Jump Teleport Mode enables your device to move instantly across a series of preset locations in a defined sequence. It allows you to manage multiple target points at once and execute location changes automatically with a single click. The system also calculates cooldown times between each point, reducing the need for repeated manual actions and ensuring a smoother, more efficient process.
Applicable Scenarios
Jump Teleport Mode is ideal for situations where you need to visit multiple fixed locations in order. For example, it is especially useful for collecting resources or completing tasks that require “check-ins” at different coordinates. By automating sequential movement, it improves efficiency and simplifies repetitive operations.
Computer System Requirements
To ensure smooth performance when using Fonelora Location Changer, please make sure your computer meets the following system requirements.
Windows
• Operating System: Windows 10 or Windows 11
Mac
• Operating System: macOS 10.15 or later
Supported Device Types
To ensure compatibility when using Fonelora Location Changer, please make sure your device meets the following requirements.
iOS
• Operating System: iOS 7.0 or later
Android
• Operating System: Android 5.0 or later
Differences Between Free & Activated Version
| Features | Free Version | Activated Version |
| Jump Teleport Mode | 2 times | Unlimited |
Step 1. Download and Install Fonelora Location Changer on Computer.
Click the download button below to download Fonelora Location Changer to your PC/Mac. Ensure you have a stable network connection during the download and installation process.
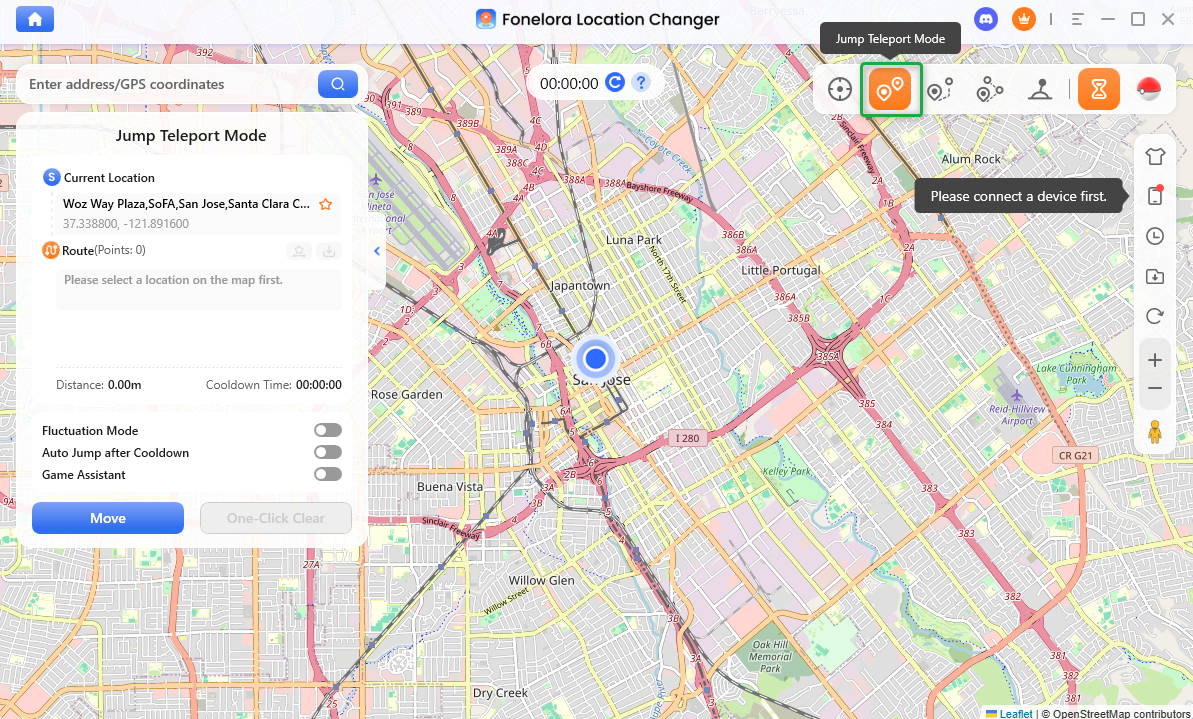
Step 2. Choose a Mode.
Lanuch Fonelora Location Changer and choose Game Mode or General Mode based on your needs. After the map has finished loading, please choose Jump Teleport Mode.
Choose a Mode
Step 3. Connect Your iOS/Android Device to Computer.
You can connect your iOS or Android device to the computer using a USB cable or Wi-Fi.
In Game Mode, iOS devices can only be connected to the computer via Bluetooth to change GPS location.
Step 4. Getting Started with the Control Panel.
Once your device is connected, use the control panel to access all core features. Here’s a quick overview of the core Interface.
Left Sidebar
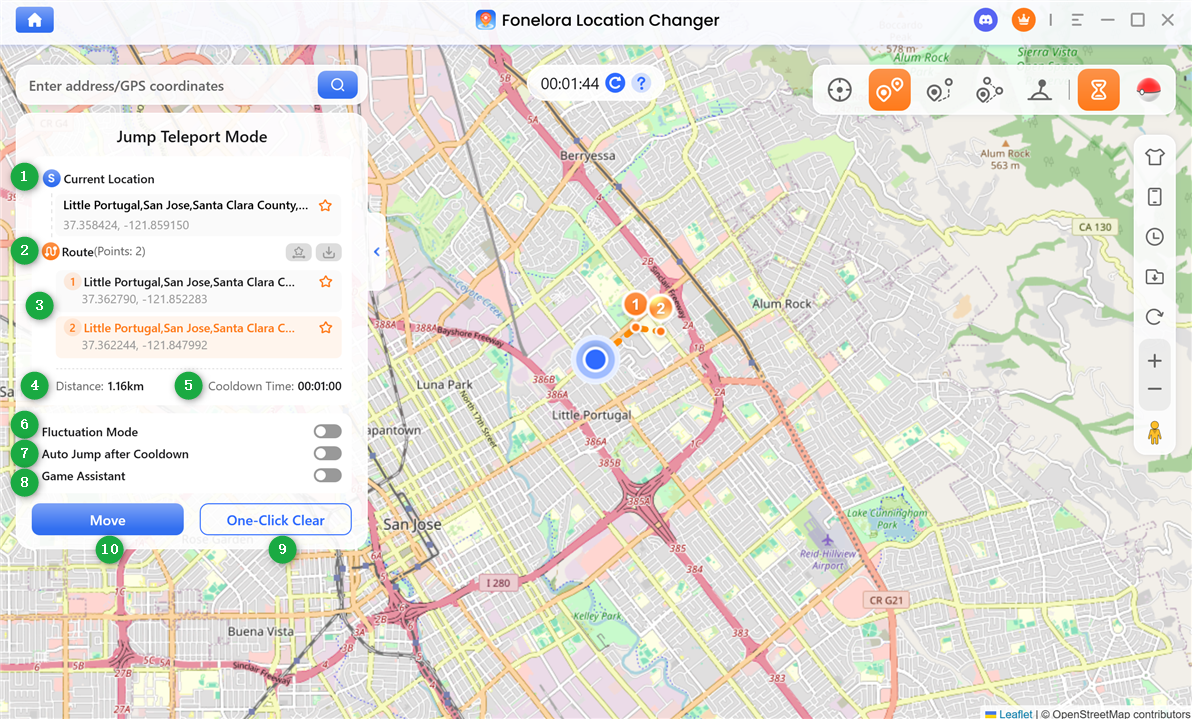
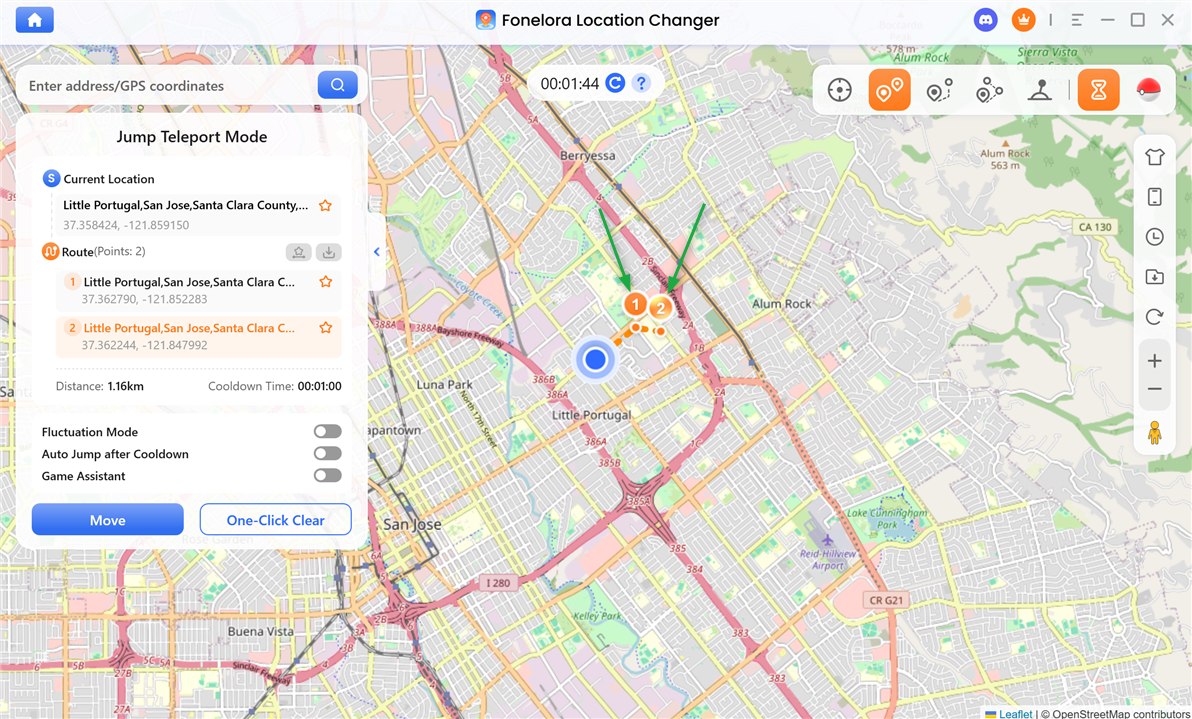
Step 5. Plan Your Jump Teleport Route.
Choose multiple locations on the map in sequence to create your route. Alternatively, enter addresses or GPS coordinates to quickly add each point.
Choose Multiple Locations
Once the route is set, click Move to proceed to the next location. You can freely navigate back and forth between the previous and upcoming points as needed.
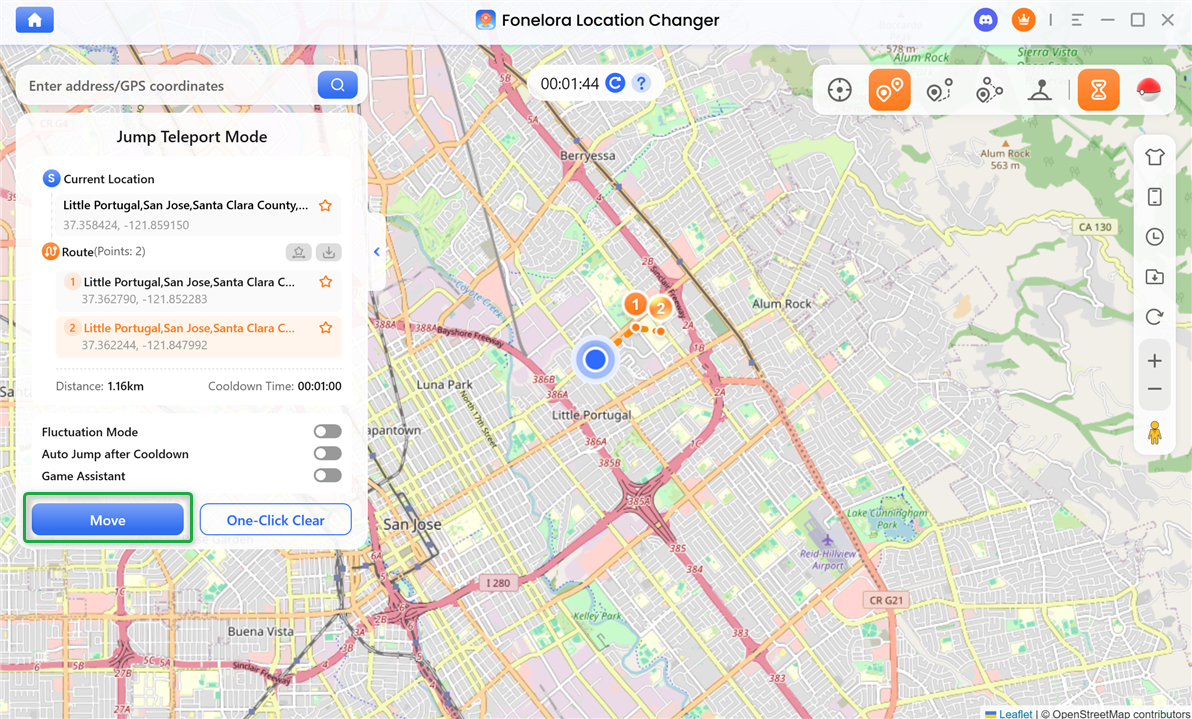
Click Move Button
Step 6. Changing GPS Location Completed.
When the process completed, you will see "Jump completed and saved to history!" interface.
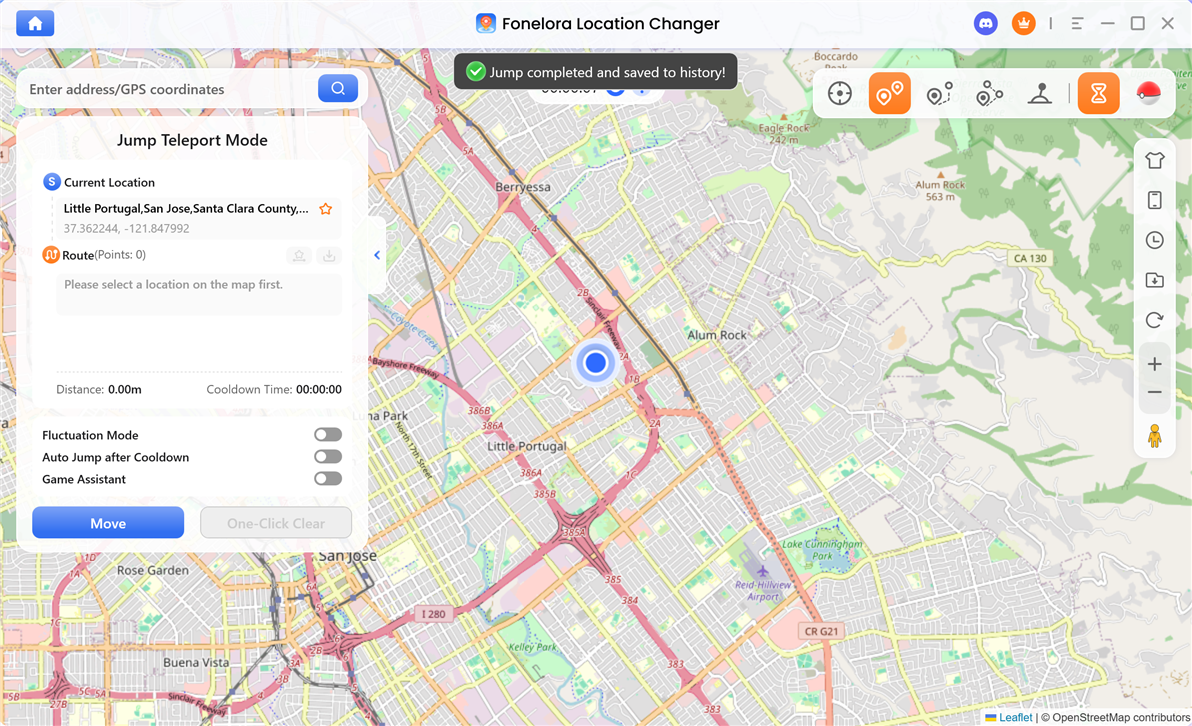
Changing GPS Location Completed
If you have additional questions, visit our FAQs page for detailed solutions or reach out to our Support Team for further help or personalized assistance.
Fonelora Location Changer Jump Teleport Mode FAQs
1. What is Jump Teleport Mode in Fonelora Location Changer?
Jump Teleport Mode allows your device to instantly move through multiple preset locations in sequence. It automates location changes and calculates cooldown times between each point for a smoother experience.
2. How do I create a route in Jump Teleport Mode?
You can select multiple locations directly on the map in order, or enter addresses or GPS coordinates to add each point and build your route.
3. Can I control movement between different points manually?
Yes, after setting your route, you can click Move to go to the next point and freely switch between previous and upcoming locations at any time.
4. What does “Auto Jump after Cooldown” do?
When enabled, this feature automatically moves your device to the next location based on the cooldown timer, allowing the route to run without manual intervention.
5. Why is my Jump Teleport usage limited?
The free version only allows limited uses of Jump Teleport Mode of Fonelora Location Changer. To unlock unlimited access, you need to upgrade to the activated version.
6. How can I confirm that the route has been completed?
Once all locations in the route have been processed, a message such as “Jump completed and saved to history!” will appear, indicating the operation has finished successfully.